HANA Studio
For HANA 1.0, HANA Studio was the default tool for application development and administration. While HANA Studio can continue to be used on HANA 2.0, it is planned to be retired as part of the next HANA release. This post will give a short description for installing HANA Studio and establishing a connection to a HANA database.
HANA Studio is available as a Eclipse plugin. As such, the first step is to install the latest version of Eclipse. Some of the latest versions of Eclipse which are supported by the HANA Studio plugin can be used by referring to the url – “https://tools.hana.ondemand.com/”
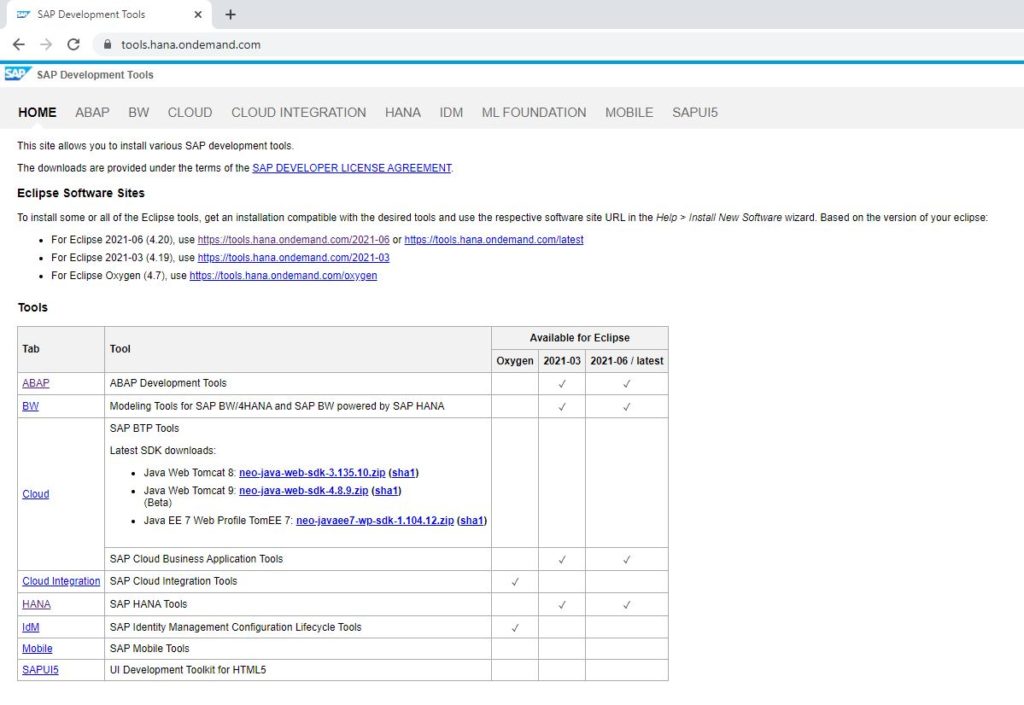
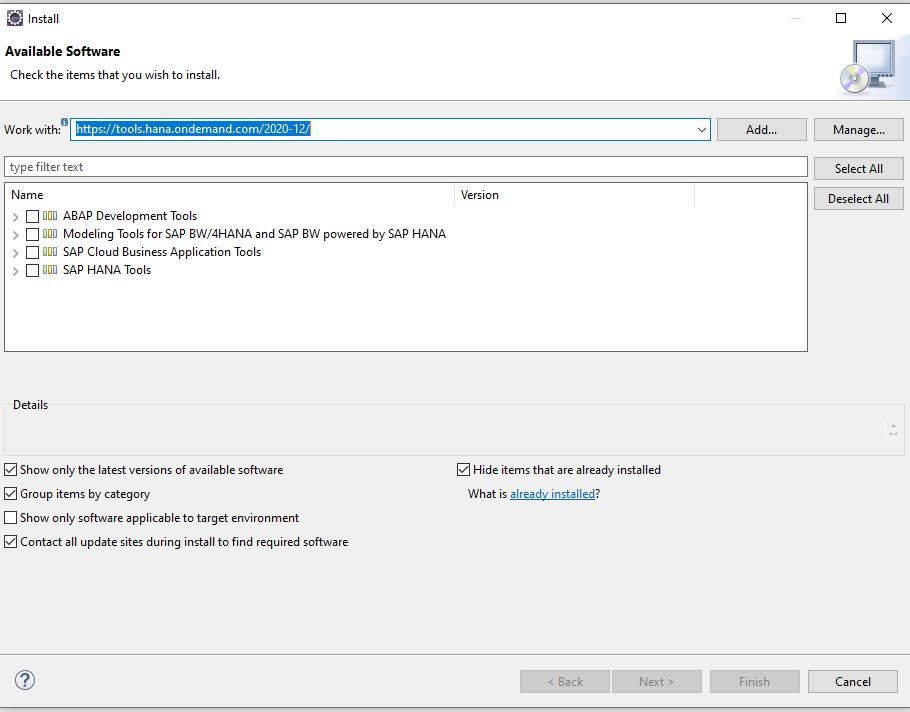
The Eclipse software based on the list above can be downloaded directly from the Eclipse.org website. During installation, the package for “Eclipse IDE for Java EE Developers” should be chosen. Eclipse would also need a JDK version to be first installed in the system. Once Eclipse is already installed, you select the option for “Help > Install New Software”. The exact link for downloading the plugin can be obtained from the hana tools website that is mentioned above. Once the exact website is listed, the available plugins are shown as below. All the packages under SAP HANA Tools need to be selected and installed.
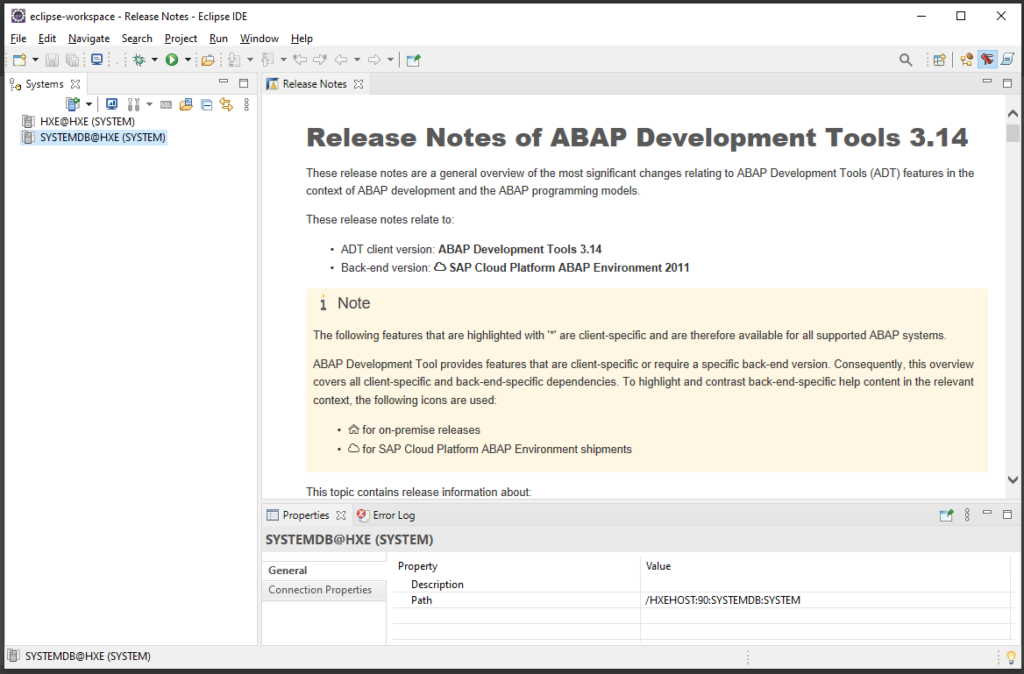
After the HANA eclipse plugin is installed, the HANA administration can be accessed by selecting the menu path Window > Perspective > Open Perspective > SAP HANA Administration Console while opens the window shown below. Initially, there are no system entries in the System window shown in the left sidebar. Before a HANA system can be accessed through the HANA Studio, an entry needs to be created for it.
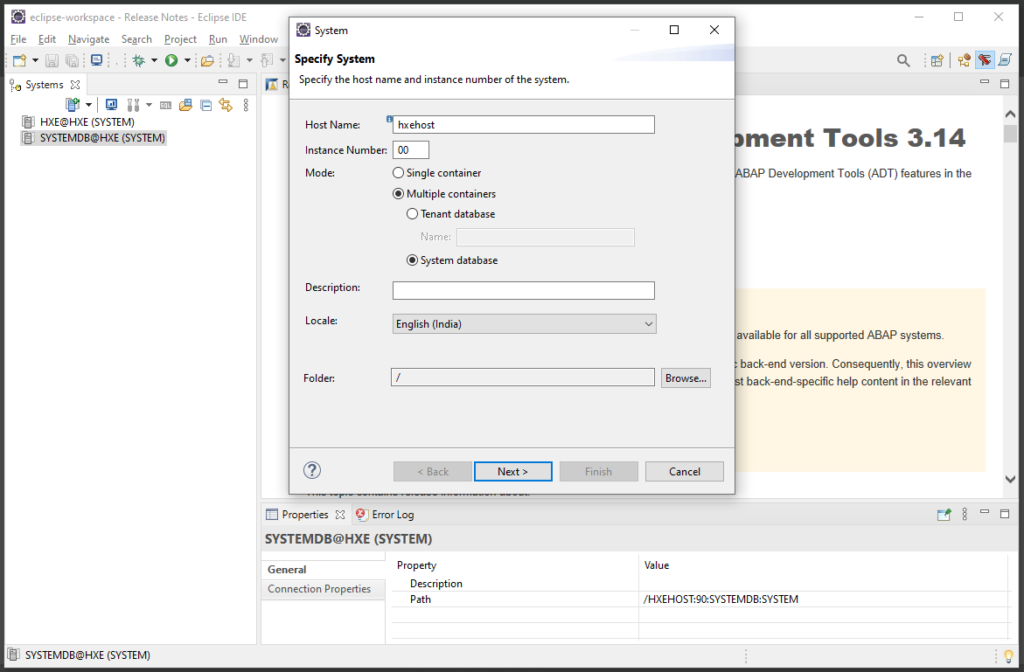
To add a new system, select the first icon in the System tab. A series of text boxes pop up which need to be filled in with details on the HANA system to be used. In the first screen shown below, the Host Name (or IP address of the Host), the Instance Number need to be entered. A HANA system might also contain a single or multiple containers. Again a HANA system with multiple containers will contain a single System database and multiple tenant databases. Once the selections are made in this screen, click the next button.
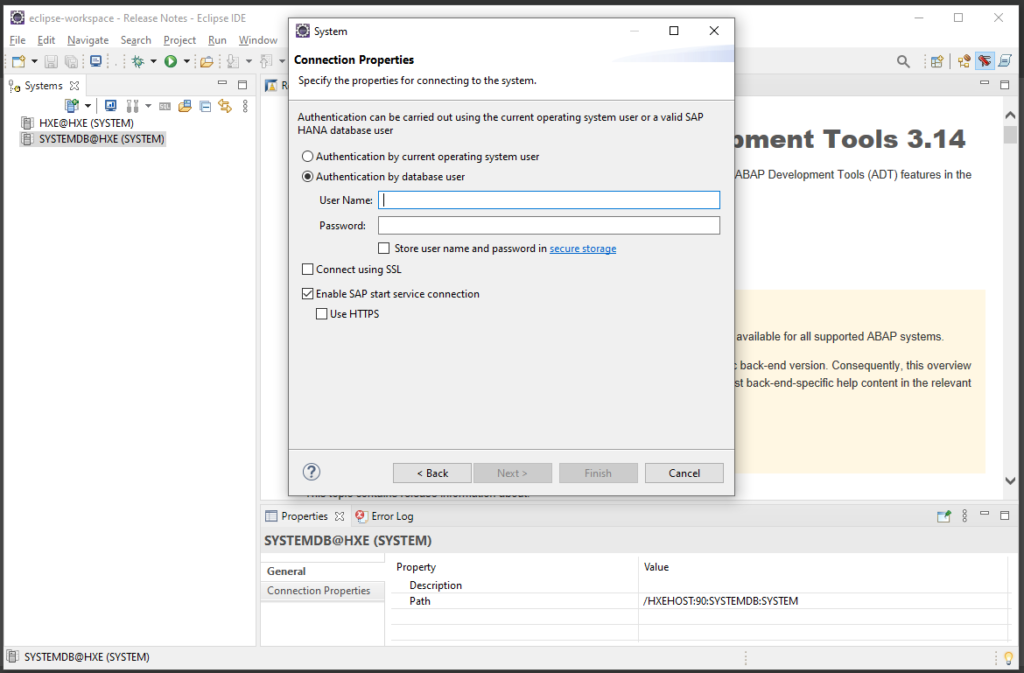
In the second screen shown below, you need to enter the user credentials for the HANA database. Do note that many HANA users might not have access to all the different databases in a HANA system. Again click next.
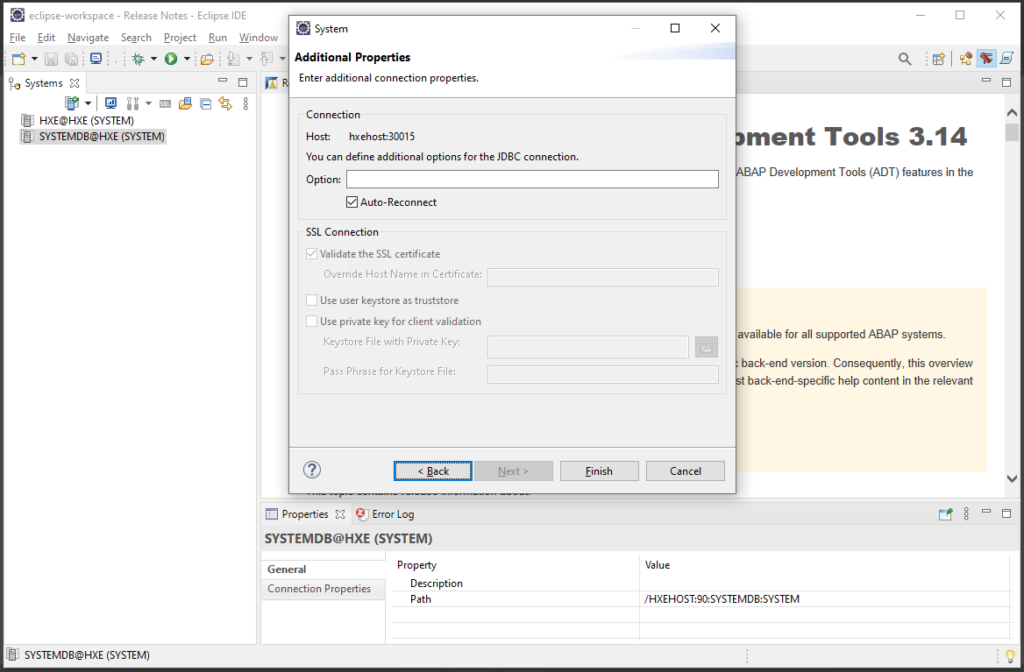
The next screen is the final screen in the sequence where additional details can be specified.
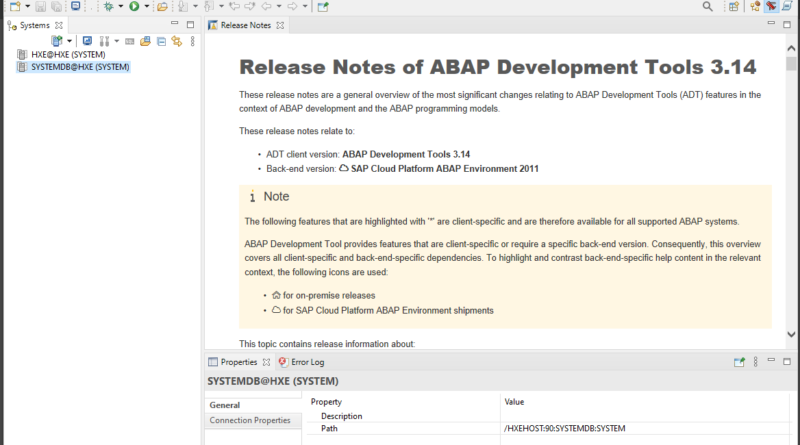
If the system details are correct, a new system entry is then created in the systems tab. This entry can be used to access the various HANA studio administration and / or development features. You will also notice a green traffic light on the system entry which has connected to a HANA system. Double clicking on the system, shows the various folders / areas in the HANA database. The security options are available under the security folder. For instance, you can right click the security icon which opens up a contextual menu to create users.

Since HANA Studio is planned to be retired in the next version of HANA, we will not spend too much time to explore the various security options in Studio. Instead we will focus most of our future discussions on the HANA Cockpit which would be used for HANA administration in the future. Many of the concepts around users and roles in HANA are fortunately not changing even though the user interface is. Hence, much of the application security activities performed in HANA Cockpit have direct counterparts in HANA Studio and can be easily learnt by exploring the interface more.