Create users in HANA DB
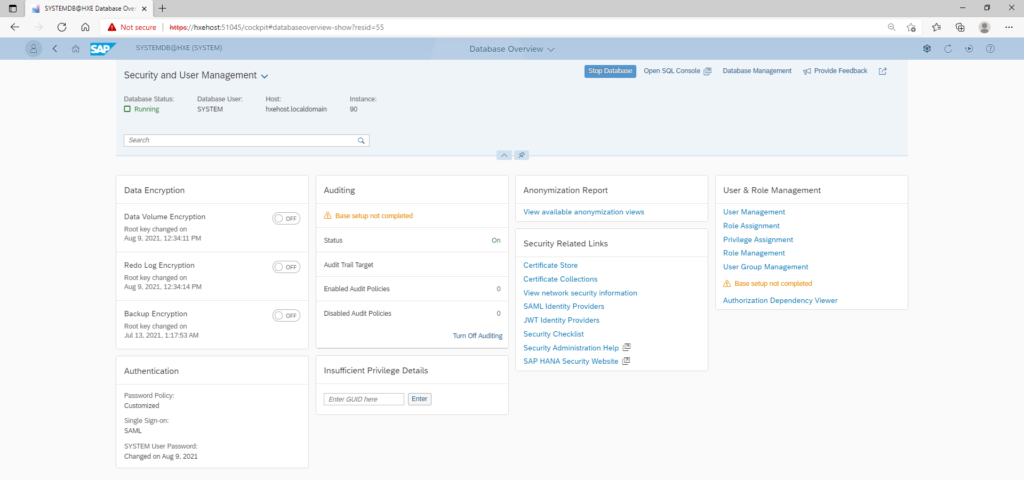
In today’s post we will talk about the process to create new users in the HANA database using HANA Cockpit. The process starts as user from the “Security and User Management” screen. The options to create users and roles are available under the section, “User & Role Management” on the rightmost column in the screen below.
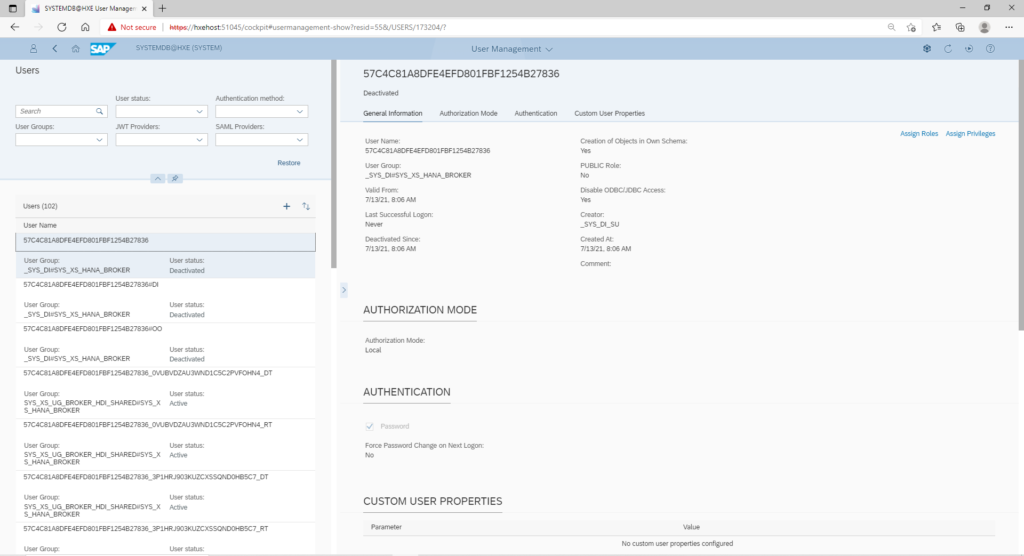
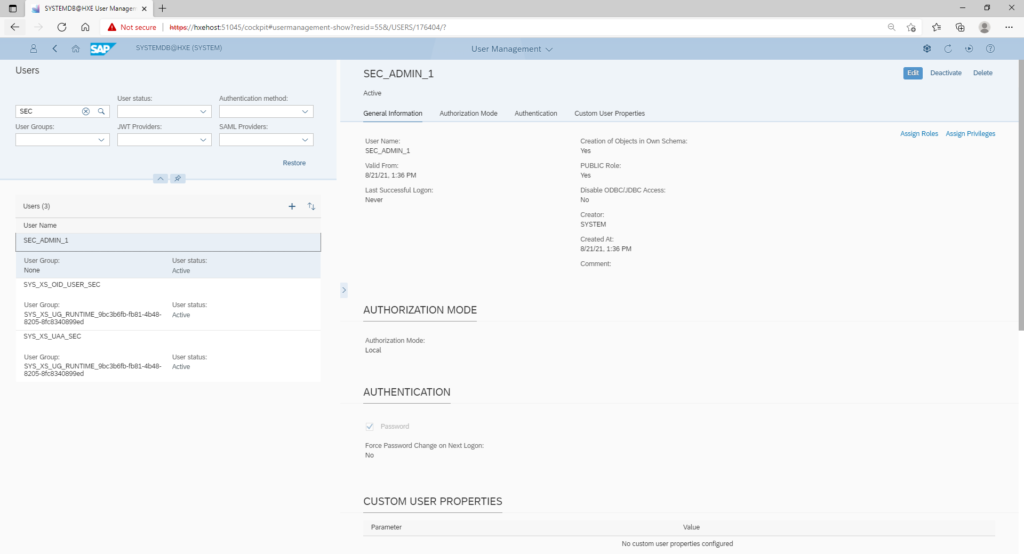
To create users, you click on the link for “User Management” when you are forwarded to the following screen. The bottom left scrollable area of the screen shows the list of users already created in HANA. Clicking on a particular user shows the details on the user on the right hand side of the screen. The top left area area also has a number of text fields which can be used to filter on various user attributes which control the list of users displayed in the scrollable bottom section of the screen.
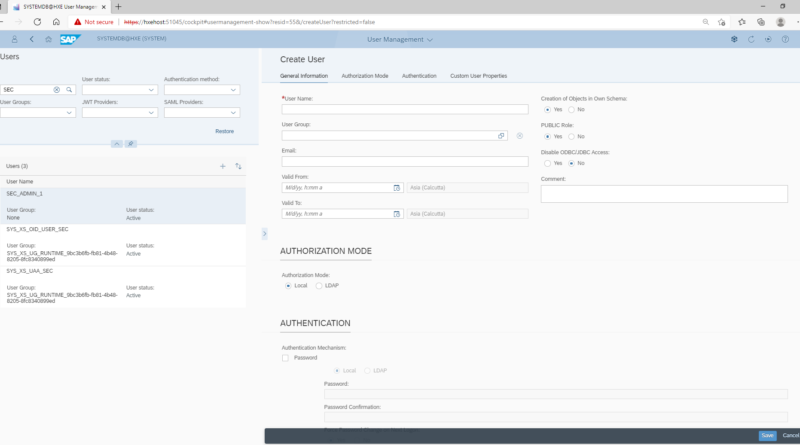
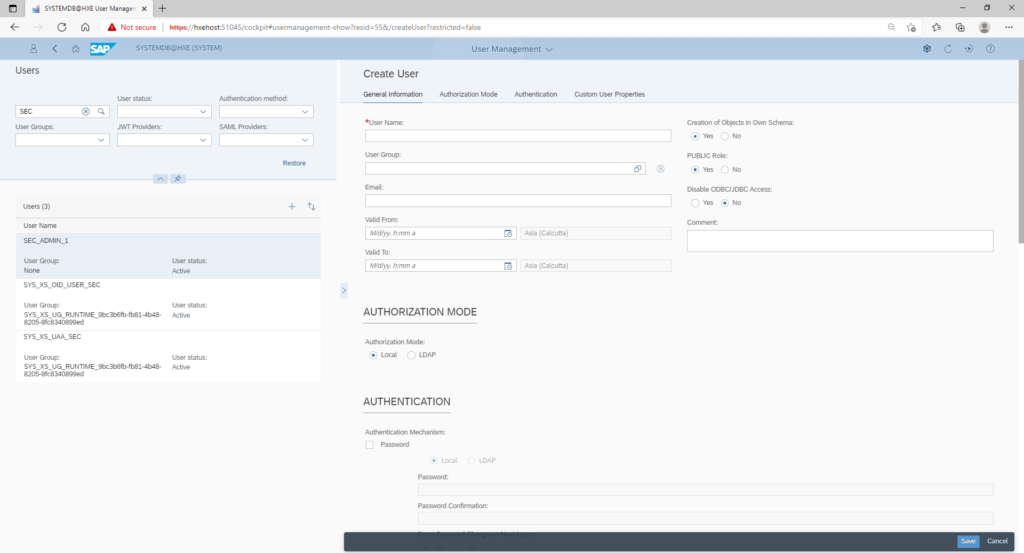
To create a new user, click on the plus (+) sign on the middle left section. This opens up the user detail screen on the right where the new user details like user name, user group, email, validity dates need to be filled in. You can choose to set the appropriate radio boxes to add the PUBLIC role, allow creation of objects in own schema and allow ODBC / JDBC access. Authentication mode can be set as Local which would mean a password will be stored in the HANA database itself or use LDAP is used to allow authentication through SSO. Once the full details are maintained, you click the save button on bottom right to save the user.
Once the user has been created, you should add the correct permissions to allow them to perform their assigned activities in HANA. For adding permissions, you can either assign roles or even assign privileges directly to a user by the clicking on the corresponding links on the top right of the user detail section shown below. Assigning roles (which can be considered to be a container of privileges) is a much better design approach rather than directly assigning privileges.
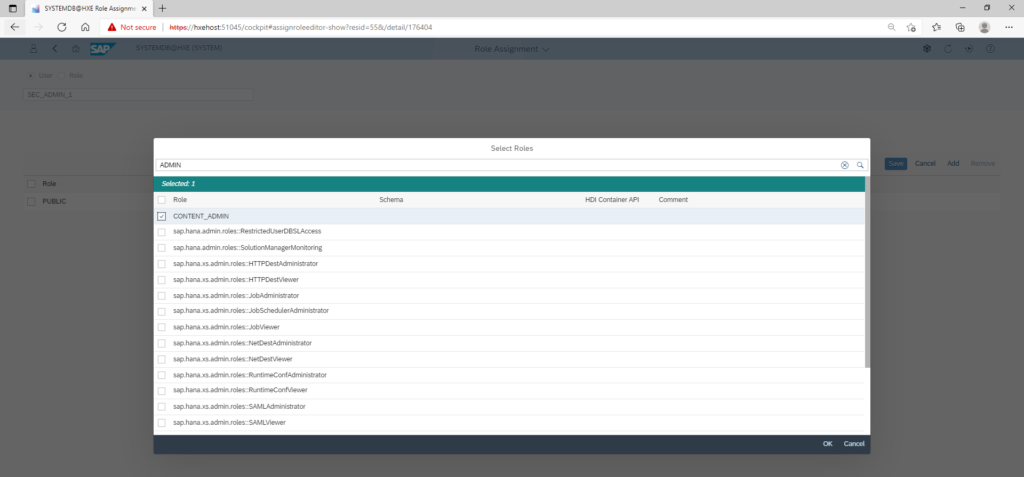
In this next screen, you can check the checkboxes alongside the roles which are to be assigned and then click the ok button. Once the roles have been assigned, you get the final screen which shows the roles which have been assigned to the user.
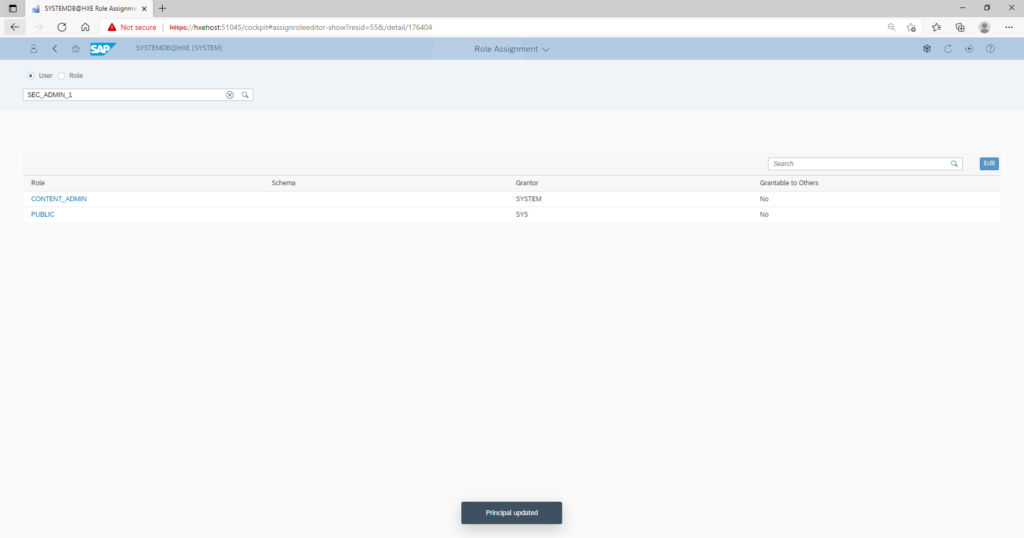
HANA User Administration – Roles Successfully Assigned to User